Hi everyone, today I'll be talking to you about Kimchi, Korea's favourite
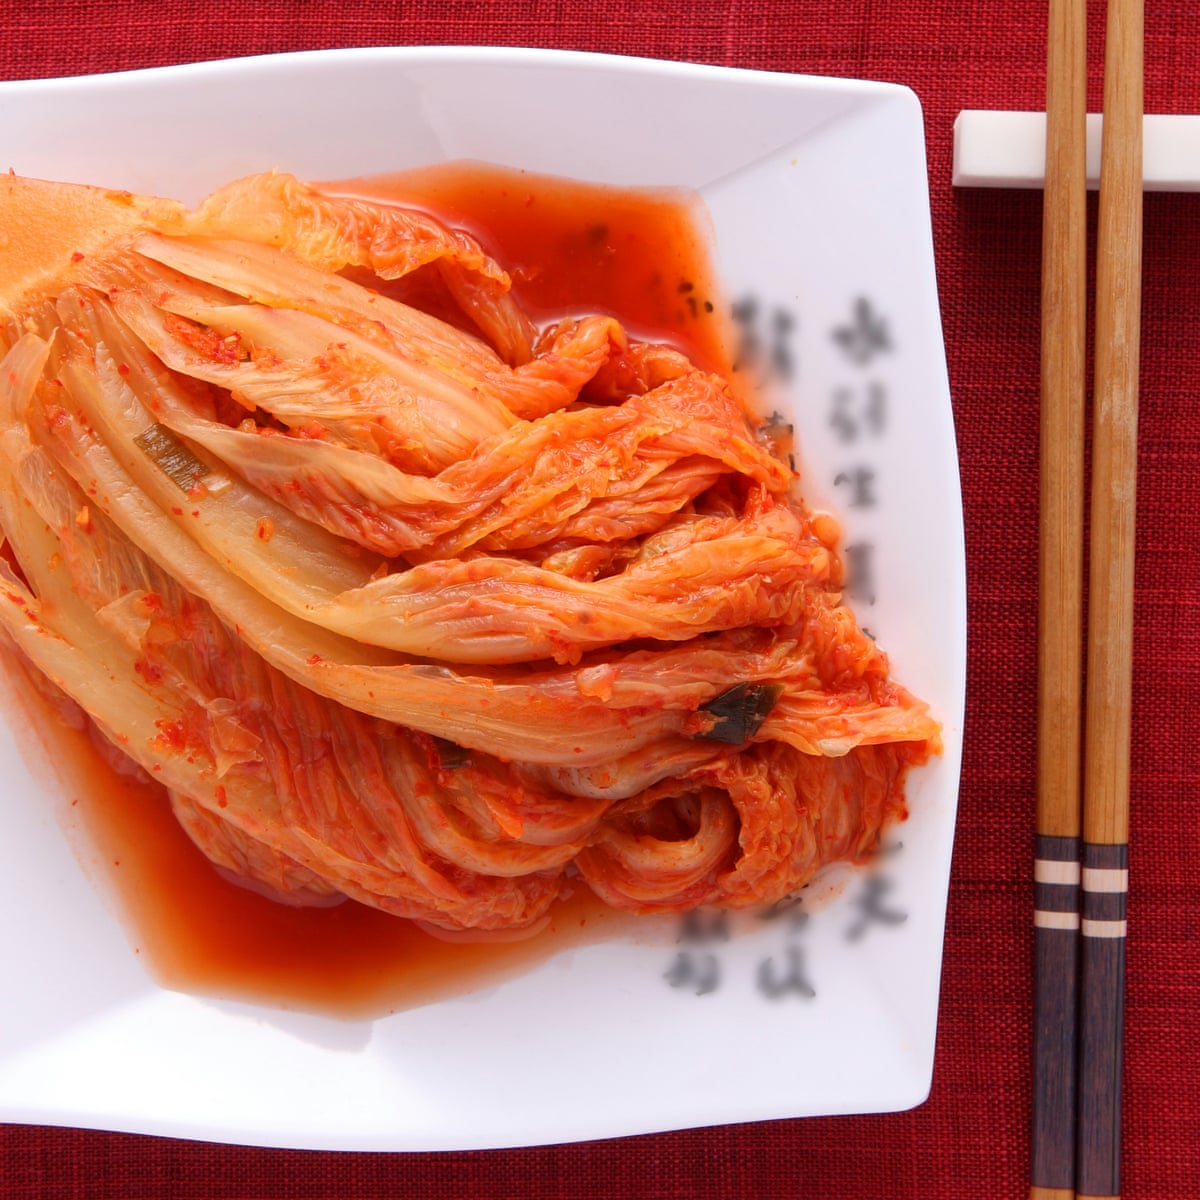
Kimchi (/ˈkɪmtʃiː/; Korean: 김치, Romanized: gimchi, IPA: [kim.tɕʰi]), a staple in Korean food, is a conventional side dish of salted and matured vegetables, for example, napa cabbage and Korean radish, made with a broadly shifting determination of flavors including gochugaru (stew powder), spring onions, garlic, ginger, and jeotgal (salted fish), etc.[1][2] It is additionally utilized in an assortment of soups.
There are many assortments of kimchi made with various vegetables as the primary fixings. The most well-known sort of kimchi is the napa cabbage kimchi.[3][4] Traditionally, kimchi was put away in-ground in huge pottery to forestall the kimchi from being frozen throughout the cold weather months. It was the essential method of putting away vegetables all through the seasons. In the late spring the in-ground stockpiling kept the kimchi chill enough to moderate off the maturation process.[2] In contemporary occasions, kimchi fridges are all the more ordinarily used to store kimchi.
HOW TO MAKE KIMCHI:
HOW TO MAKE KIMCHI PASTE:
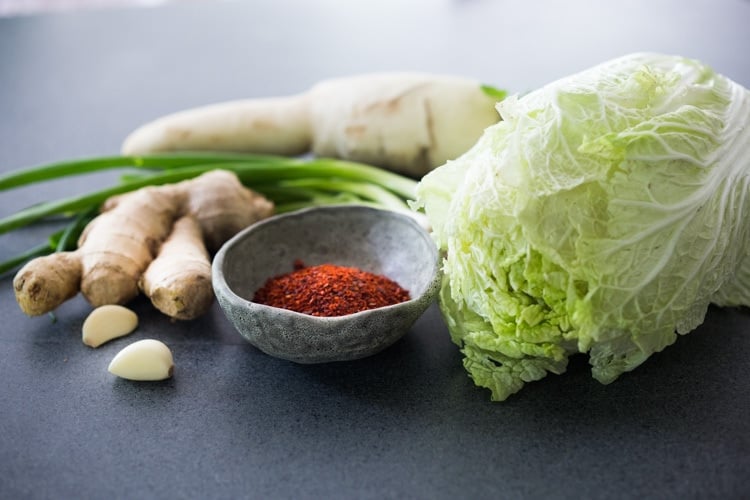
I prefer to use Korean Chili Flakes called “Gochugaru” vs. the Korean fermented Chili Paste called “Gochujang“. Feel free to use Gochujang if you please. Totally up to you. Either way, you will make the paste below.
Many people ask if they can use regular old chili flakes- yes, but they are much spicier!!! Gochugaru is fruitier and less spicy, so you can use more and get more flavor. You could try subbing dried Arbol Chilies if you absolutely can’t get the Korean Chili flakes – or even use fresh chilies to make the paste.
In a food processor, make a paste with the garlic, ginger, shallot, Korean chili flakes (or Gochujang) and optional fish sauce (or miso) and sugar. If you want a mild version, use half the chili flakes. The fish sauce really adds a delicious complexity and depth, but you can, of course, keep it vegan.
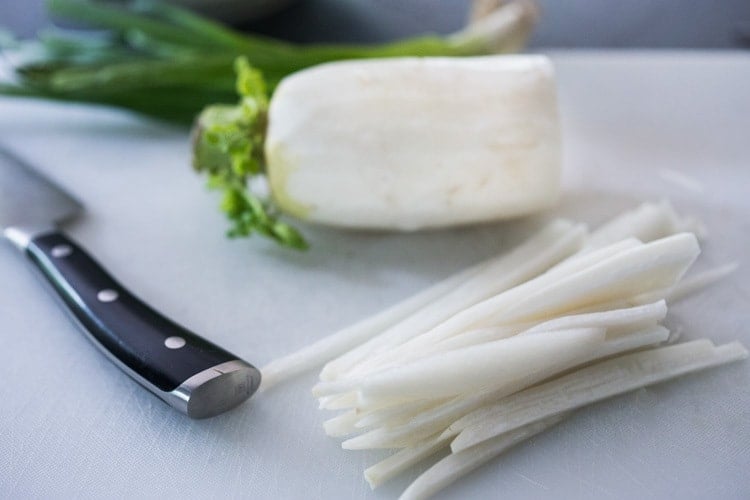
- Peel and cut the daikon radish (or carrot) into match sticks, about 2-3 inches long. Cut the scallions.
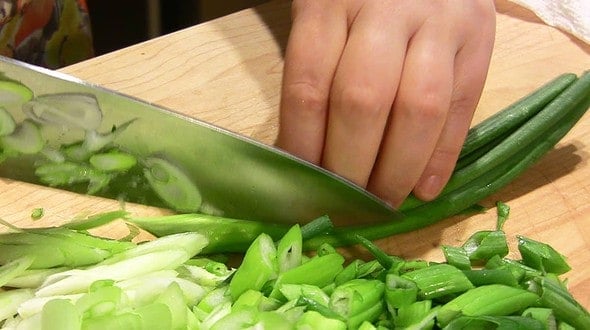
- Cut the scallions into 1-2 inch pieces.
- Place the drained cabbage along with the daikon, scallions and chili paste into the bowl. Massage a bit with gloved hands.
- This is a very mild version shown below, so not very red, ( 2 tablespoons chili flakes).
- You can also add more chili flakes if you want it spicier – I normally add 4-6 tablespoons.
- Pack this tightly into a large two-quart jar (half-gallon, 64 oz) or large crock. (Or use two, quart-sized mason jars.)
- You want a good two inches of space at the top to catch the flavorful liquid that will release.
- Pour a little of the brine into the jar, just to enough to cover the cabbage.
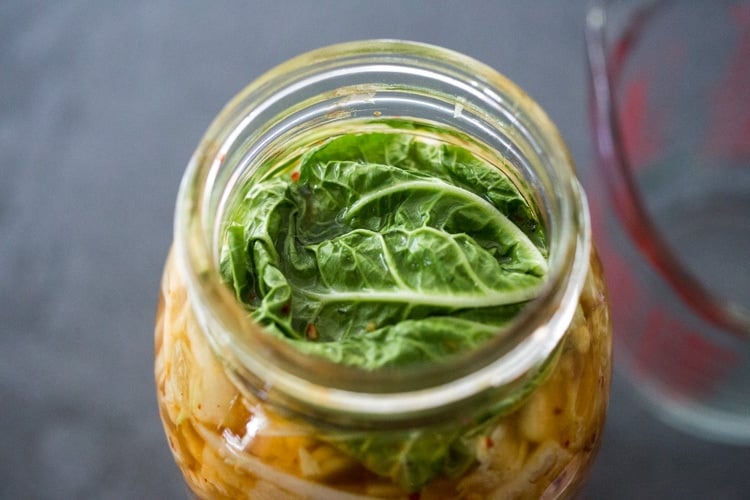
- over with the cabbage leaf you saved, and press down. The leaf will help keep the cabbage submerged. Add a fermentation weight to keep the cabbage submerged. Cover with a lid ( do not screw on tight) and place on a rimmed pan or bowl ( to collect any overflow) and set somewhere cool and dark like the basement for 3-5 days. A lower kitchen cabinet away from stove or appliances can also be a good cool spot.
what temperature to ferment kimchi:
- The ideal temperature for fermenting kimchi 55-65 degrees. 65 F is perfect!
- The cooler it is, the slower it will take to ferment. The warmer, the faster.
- The longer you ferment the tangier and the softer the kimchi will get. I actually prefer slightly crunchy kimchi.
- Going too much over 70 degrees may actually have negative effects on the flavor
- After 3 days. Tap the jar to see if any bubbles rise to the top- indicating that it is fermenting.
- Taste the kimchi for tanginess.
- Continue to ferment for 2-3 more days if you want it tangier or softer, then place in the fridge.
- Once you have it in the fridge, taste again. It will continue to ferment but at a much slower rate. It will develop more flavor and complexity over the next two weeks in the fridge, and the spice level will mellow with time!
- Optional: To thicken, use glutenous rice powder.





0 Comments